• Home
  • Work
  • About
  • Contact
Bay Street Creative
  • Home
  • Work
  • About
  • Contact

The Heartwood Arch: A Steam back in time. (Part 2)

The next half of the process involves the former or jig that you are gently persuading the steamed timber into. This is a negative space that is made up of two halves of jig-sawed MDF that allow for clamping together to initially form the shape of the steamed oak, and then forms the gluing jig that will hold the timber in place for the lamination process.

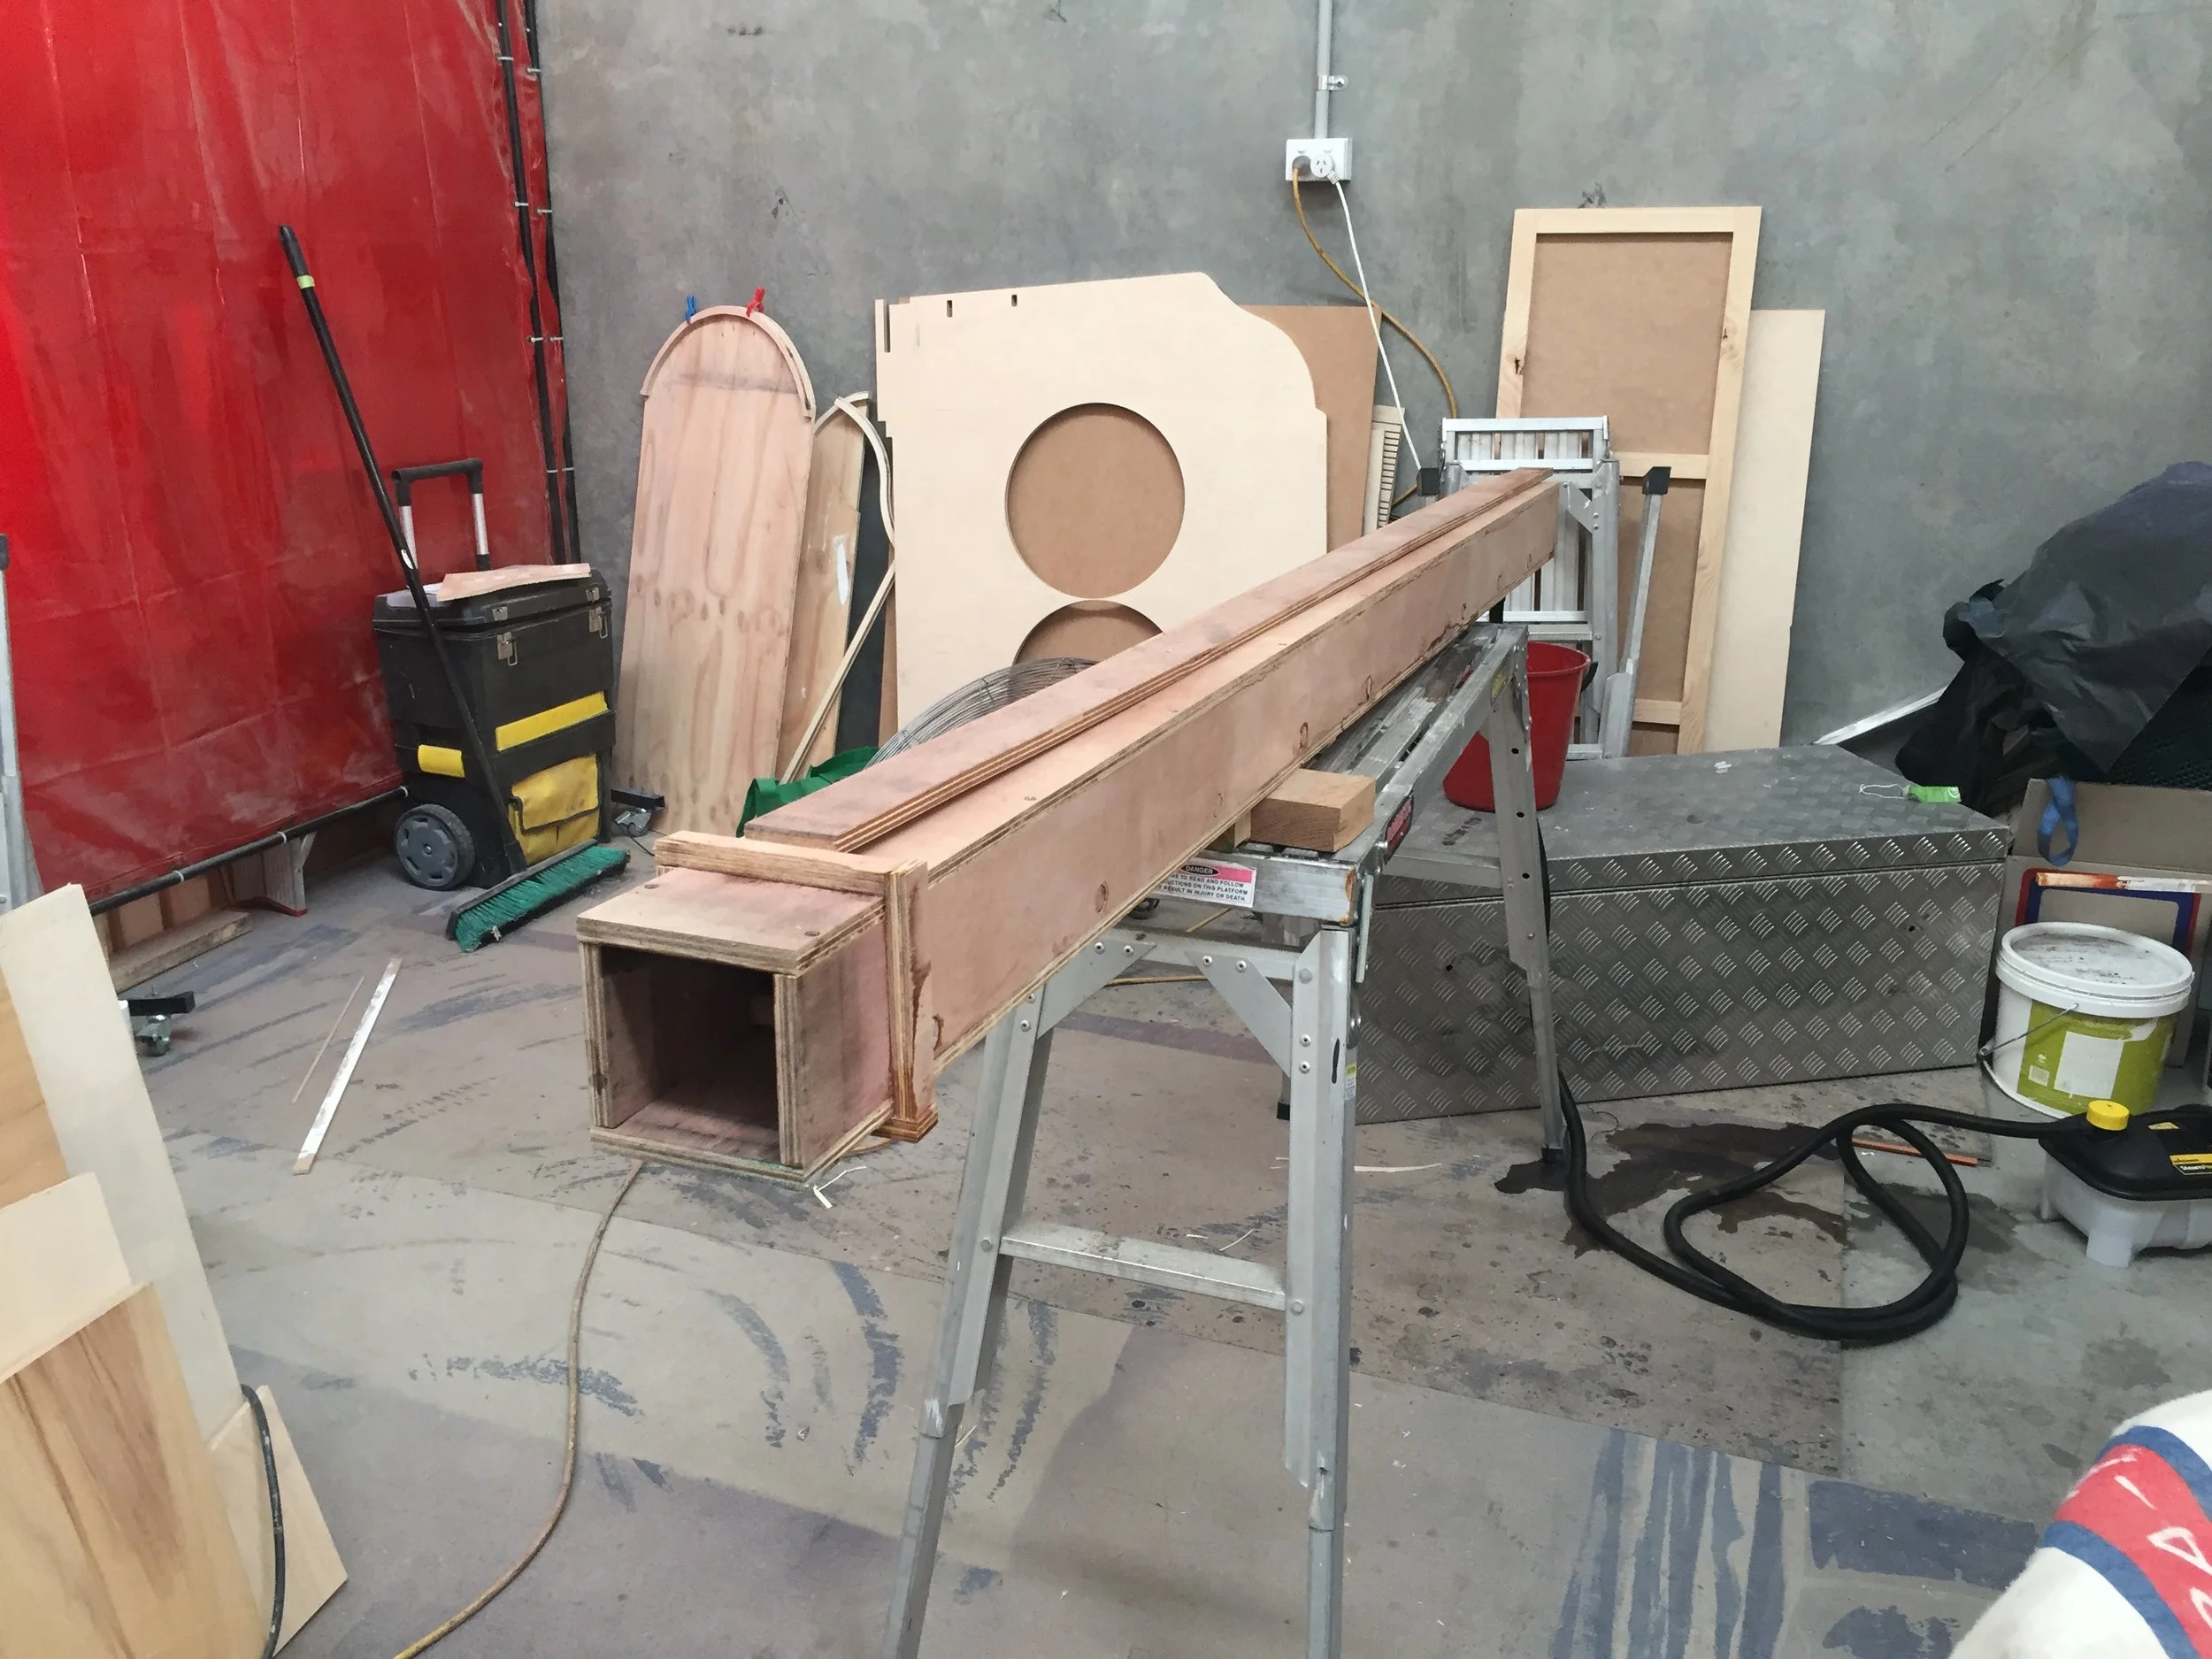
Ideally, it would be great to have a CNC (computer aided routing machine) to manufacture several jigs at once, to save on time; it generally takes 48 hours to form and glue one band of six bands that make up the arch! For this one, the whole construction of the arch took about three weeks including making the bases, using only one jig. We are looking to simplify this process down the track as demand increases.

Putting these processes together, my day would start accordingly:

I would set the steam-box up and fill it up with near boiling water, letting it warm up for about half and hour. Monitoring the temperature, via the thermometer, I would let it get up to as close to boiling as it would go. I would then load the wood in strips, separated by small chocks of oak, so the lignin doesn’t stain the wood. The wood would then be allowed to steam for about an hour. Fortunately, the steam vessel could allow for the steam time, and didn’t need to be refilled midway through.

At this point you are all too aware that the zero hour is nigh, and the steaming is imminent! You must have all clamps at the ready, in position and screwed ready to clamp on. I can’t tell you how many times I’ve forgotten this step, knowing that I’d have to reset a clamp to position it onto the jig and would waste precious seconds, and seconds is really all you have here. On the plus side, the bend is not the most extreme one; not like at NIDA, where Sarah’s chair required the entire props department manning a clamp each as the steamed beech was fired out of the box and into the jig pronto!

Once all the chocks are shaken loose, the timber goes straight into the opened jig and levelled as best as possible and then, one by one the clamps are tightened, and the timber is left for 24 hours to set.

20170801_103120.jpg
Monday 06.18.18
Posted by Tom Taylor
 

The Heartwood Arch: A Steam back in time. (Part 1)

When Sarah first put some references of potential stock in front of me, one image stood out immediately. It was a circle arch and we both were equally excited and horrified when we knew what it meant. How were we supposed to make it out of timber? Luckily, we both knew the answer: steam bend it!

When we were prop students at NIDA, we had been subjected to the somewhat ‘experimental’ techniques of steam-bending, during the furniture component of our woodwork module. It was a challenging and ambitious course that was renown for sorting out the students’ woodworking skills and both Sarah and I had been given the daunting task of using timber steam-bending to fulfill the components of our respective chairs. I say ‘experimental’, because as far as we could tell, none of the students before us had really used or selected chairs that needed to have steam-bent components, nor had the teachers had an extensive working, practical knowledge of the technique. To be honest, I had never really considered that wood could be bent, not in a non-industrial capacity, anyway.

Needless to say, we forged on with the research and gathering of components for steam bending our chairs. Firstly, we needed to know and understand that the material characteristics of some timber means that not all timber is suitable for bending. Timbers can shatter and split along the grain with heat and cannot sustain the pressure and force applied in forming jigs. Secondly, we needed to work out the process involved in the steaming and bending of timber.

In order to saturate and soften the lignin inside the fibers of the timber, you need a constant and sustainable temperate of steam from a steady and stable source. Essentially you are softening these lignin polymers for a certain time, subject to the thickness of the piece of timber you are trying to bend. Generally, you are looking at around an hour of steaming per 25mm or so of timber thickness, but one shouldn’t think that you are going to achieve a ridiculously tight bend, nor should you risk it! Since we had limited resources and time, we were advised to laminate our timber from thinner sections, which were easier and more pliable under these pressures.

Oak, maple, ash and birch seem to be the best hardwoods to use for steam-bending and spruce and fir for softwoods. Sarah used a European species of beech for her chair, while I selected Queensland Ash for mine. For the Heartwood Arch, we chose American Oak, which has a long history in steam-bending and is durable, while having a nice finishing grain.

The steaming vessel is a little trickier. You need to know the eventual size of the pieces you are steaming and that you can distribute the steam evenly throughout the box. You also need a constant and steady supply of steam which can maintain its temperature. After experimenting with various boilers and kettles, we managed to buy a cheap wallpaper steamer that needed a little hack to attach it to the box itself. Plywood will do for the box; we were fortunate to have a little bit of marine ply left over from a job to make the box with, and then hinging a small door on one end for access to the timber. Using this setup, you can heat the box up to nearly boiling temperature and supply a steady source of steam for around an hour and a half, which is enough to bring the inside of the box to sufficient bending temperate and maintain it for an hour. Propping (no pun intended!) up the box and making a draining hole in one end allows the box to be kept clear of pools of condensation gathering in the box. Oh, and a thermometer for accurately gauging the temperate is recommended.

Stay tuned for part 2 next week!

Tom

IMG_0125.JPG
Monday 05.28.18
Posted by Tom Taylor
 

Welcome to our Stories

Just yesterday we were trying to work out when we started our little business. Four years as Bay Street Creative this September is not bad for two props makers who started as the scenic artists and prop makers for a set construction company, hiring out the mezzanine level and making our own props in between jobs!

Having moved from the original Bay Street in Tempe, to Alexandria, we have slowly built up our confidence and professionality to the stand-alone workshop you see today. Now after one year at Taren Point, we move into a new phase that sees us push our long-standing dream of making exquisite rentals for special events.

In this blog we hope to share our journey of making with you, so you can see the challenges and the joy of what makes us tick. Come see the processes and problem solving that comes with being a maker in the niche market of props and event rentals. While we hope to grow as a business this year, we are acutely aware of trying to stay small and manageable, to sustain the important balance of work and life.

Tom 

DSC03684.jpg
Tuesday 05.22.18
Posted by Tom Taylor
 

Powered by Squarespace.